Tutorial: Create a Photo Backdrop in Seconds with Photoshop
Originally Published in January, 2009
In less than a minute, you can create a stunning background for your portraits, using the tools that come with Photoshop. This will not only save you money (those muslin backdrops don’t come cheap!), but will allow you greater flexibility. You can easily create the right color, mood, and texture backdrop for a particular portrait. As you create them, you’ll begin to accumulate a handy collection, saving you even more time down the road. Let’s get started, and see how easy it is.
The main tool for this is the Clouds filter (Filter > Render > Clouds), which has been part of Photoshop since version 5. This filter creates “clouds” (a randomly-generated fractal pattern) using the foreground and background colors, so pick the colors for your background first. It seems to use background and foreground equally, so it doesn’t matter which is which. For this portrait, I started out with blue and black. First, create a new image, and make it the size you’ll need for your portrait. Next, draw a rectangle with the rectangle marquee tool, and keep it about a third of the size of the image. The reason you do this is to keep the clouds from having too much detail. With the marquee selected, and your foreground and background colors set, go Filter > Render > Clouds. Click the “V” key to select the move tool, and turn on “Show Transform Controls”, in the top tool bar. This makes the sizing handles appear. Now grab the corners and stretch the clouds to fill the image area.
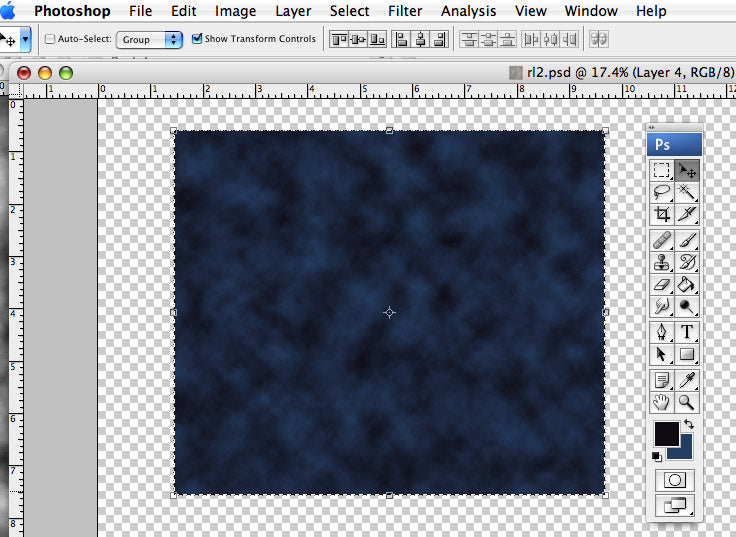
If you decide you need to change the coloration, just add a Hue/Saturation Adjustment Layer (Layer > New Adjustment > Hue/Saturation…), and move the Hue slider to change the colors.

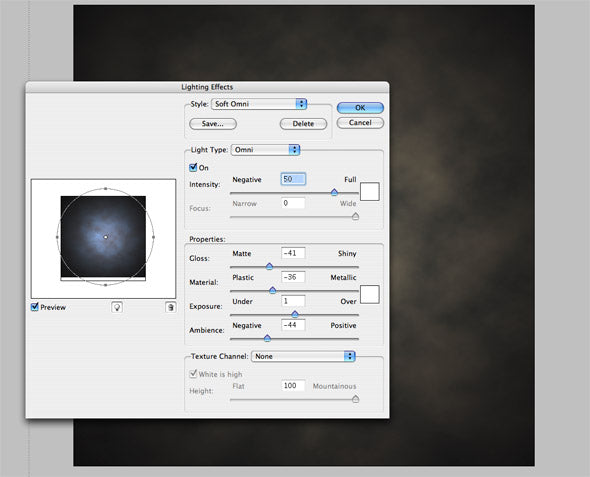
To complete the formal backdrop look, add some vignetted lighting. With the clouds layer selected, go Filter > Render > Lighting Effects, and choose the Soft Omni light. You can leave it white, or further adjust the coloring by tinting the light’s color here.
Alternative Looks for Your Backdrops in Photoshop
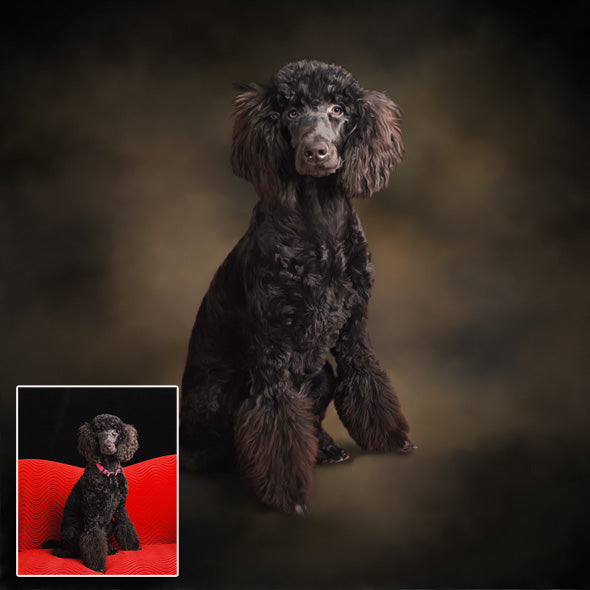
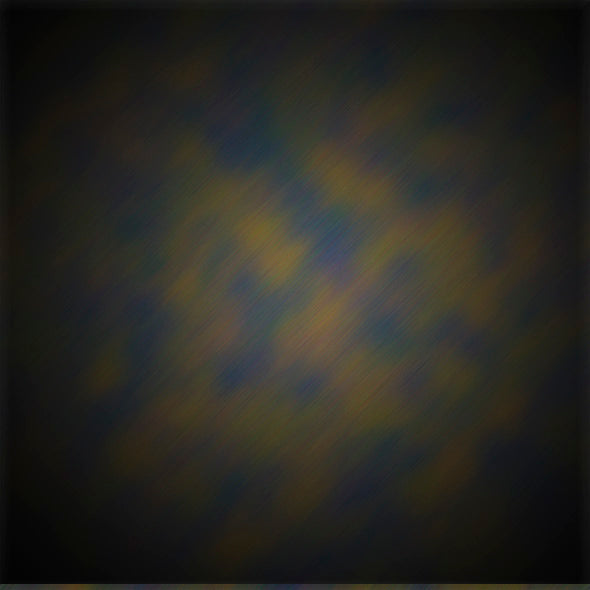
Now that we’ve looked at the basic, formal backdrop, I’ll show you a few variations to get your imagination working. This first example was created as follows:
- Create a clouds layer using a green and a gold as foreground and background
- Create a second clouds layer using a red-brown and a navy blue. Lower the opacity of this layer to less than 50%, so the first layer “mixes” in
- Combine these layers (with Layer > Merge Layers, or by combining them as a Smart Object)
- Apply Noise, just enough to create a grainy appearance. (Filter > Noise > Add Noise)
- Use a Motion Blur at a 45 degree angle (Filter > Blur > Motion Blur). Try varying the length of the blur.
- Apply the Soft Omni light, as in the first example. (Filter > Render > Lighting Effects)
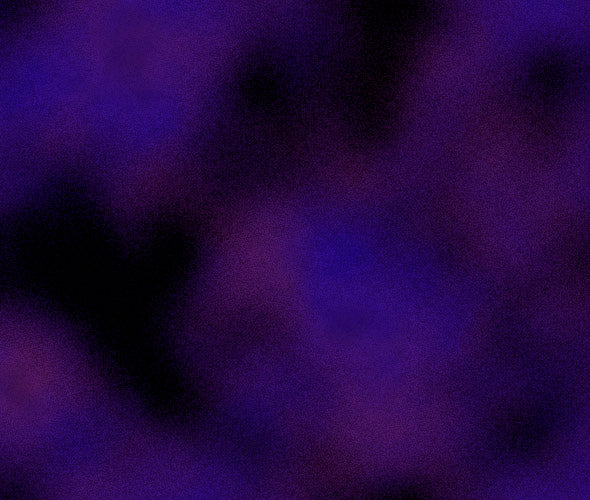
For a more colorful, youthful look, try combining two layers, using the blue/violet as your first layer, and magenta/orange as your second layer. Use multiply as your blending mode for the second layer, or darken. (Try the different blending modes out, to see what looks best.) Then merge your layers, as before, and try out the various artistic filters. You can get wildly different results all from the same clouds image, as shown here: